3 Simple Ways to Make the Perfect Bone Broth
Bone broth is the liquid you get from boiling bones in water for several hours. It has a lot of nutritional value, is full of minerals, and is said to help boost your immune system. It’s also very tasty and makes a wonderful base for all sorts of soups and stews.
If you haven’t tried making your own yet, grab some leftover chicken bones and a pot and get to work. Here are three different ways to make bone broth at home. Your taste buds, wallet, and your health will thank you.
How to Make Bone Broth at Home
 Pin
PinBone broth gets better the longer you simmer the bones in the water. Good bone broth has cooked for at least 12 hours. Great bone broth takes a good 48 to 72 hours. There are a few different ways to make this near-perfect health food. We’ll go over them in more detail, but the general idea is to either use a stockpot on the stove, put your crockpot to work, or make something called perpetual broth, where you continually cook and use the broth.
The method you use is a matter of preference. If you are going to be around, use the stove top method. If you work outside the home or want to keep the broth going overnight, a crockpot will be a better choice. Pick what works for you and start making some of this delicious broth.
Related: What is Bone Broth?
Different Ways to Make Bone Broth
 Pin
PinStock Pot Bone Broth
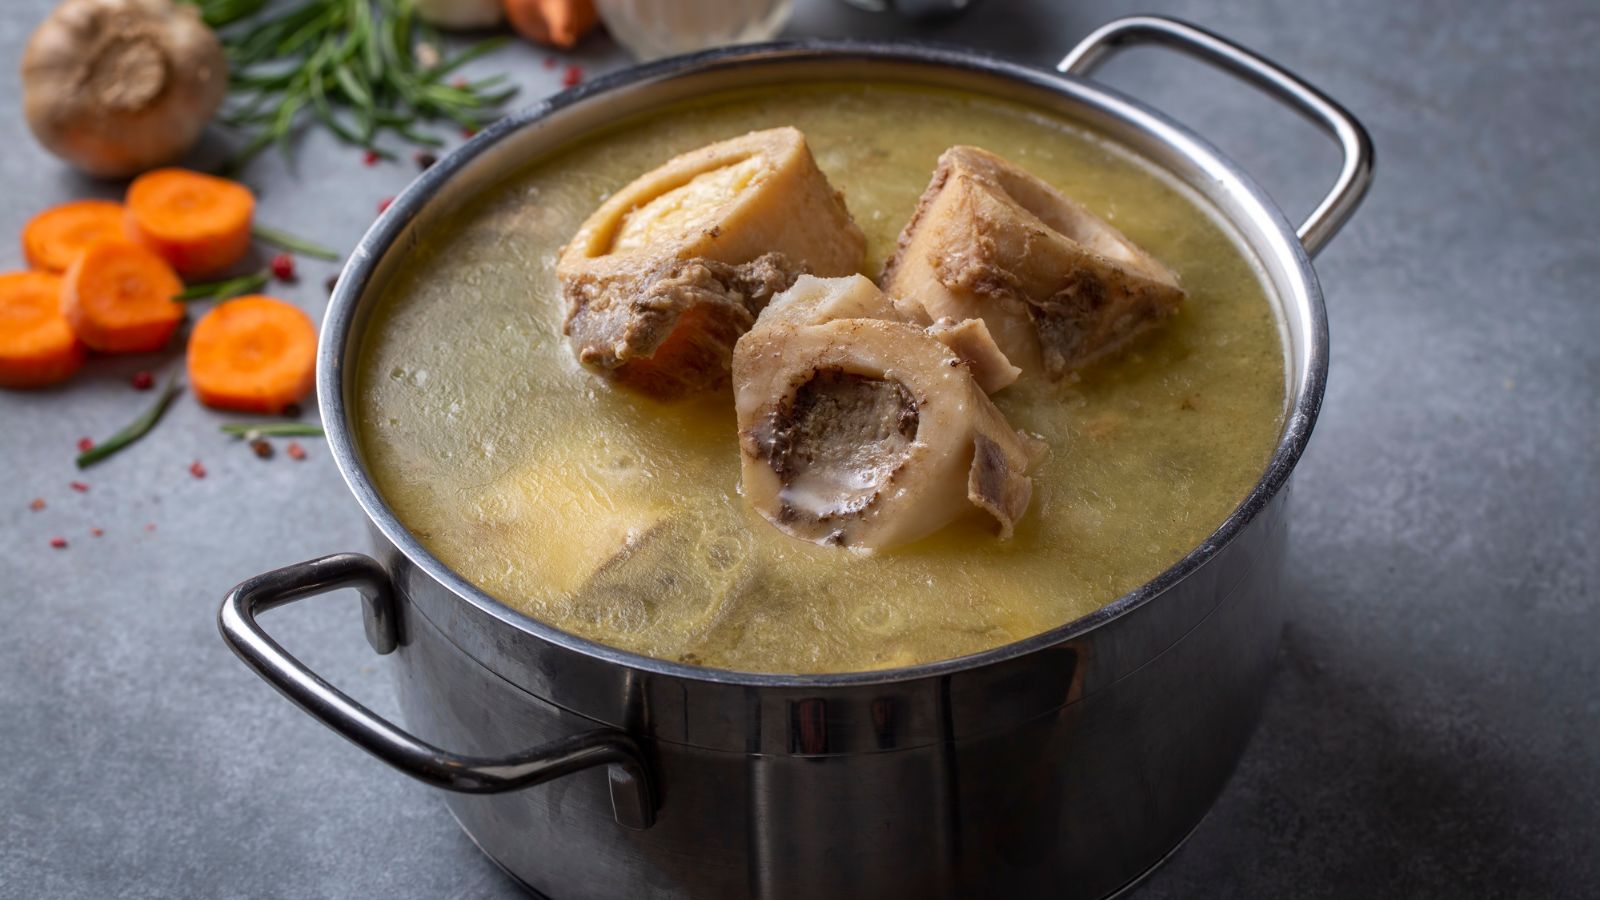
This is the traditional way of making broth and stock. You can make a large batch of bone broth and use even the largest batch of bones or the Thanksgiving turkey carcass. Here’s how to do it.
Get out your stockpot and put the bones in there. It’s perfectly fine if they have some meat and cartilage on them. In fact, that cartilage will dissolve and make the broth even better for you and your joints. Add plenty of water and a good splash of Apple Cider vinegar.
Cover the pot and bring the mixture to a full boil. Reduce the heat to low and allow your broth to simmer for 12 to 72 hours. Start the broth in the morning on a day when you’ll be home and let it simmer all day. Turn the stove off right before you go to bed. The next morning, crank up the heat and bring the broth back to a boil, then simmer all day again. Rinse and repeat for as long as you see fit. After a good 12 to 24 hours of simmering and sitting, the broth will have most of the nutrients leached from the bones, and it will taste great. The longer you boil it, the better it gets.
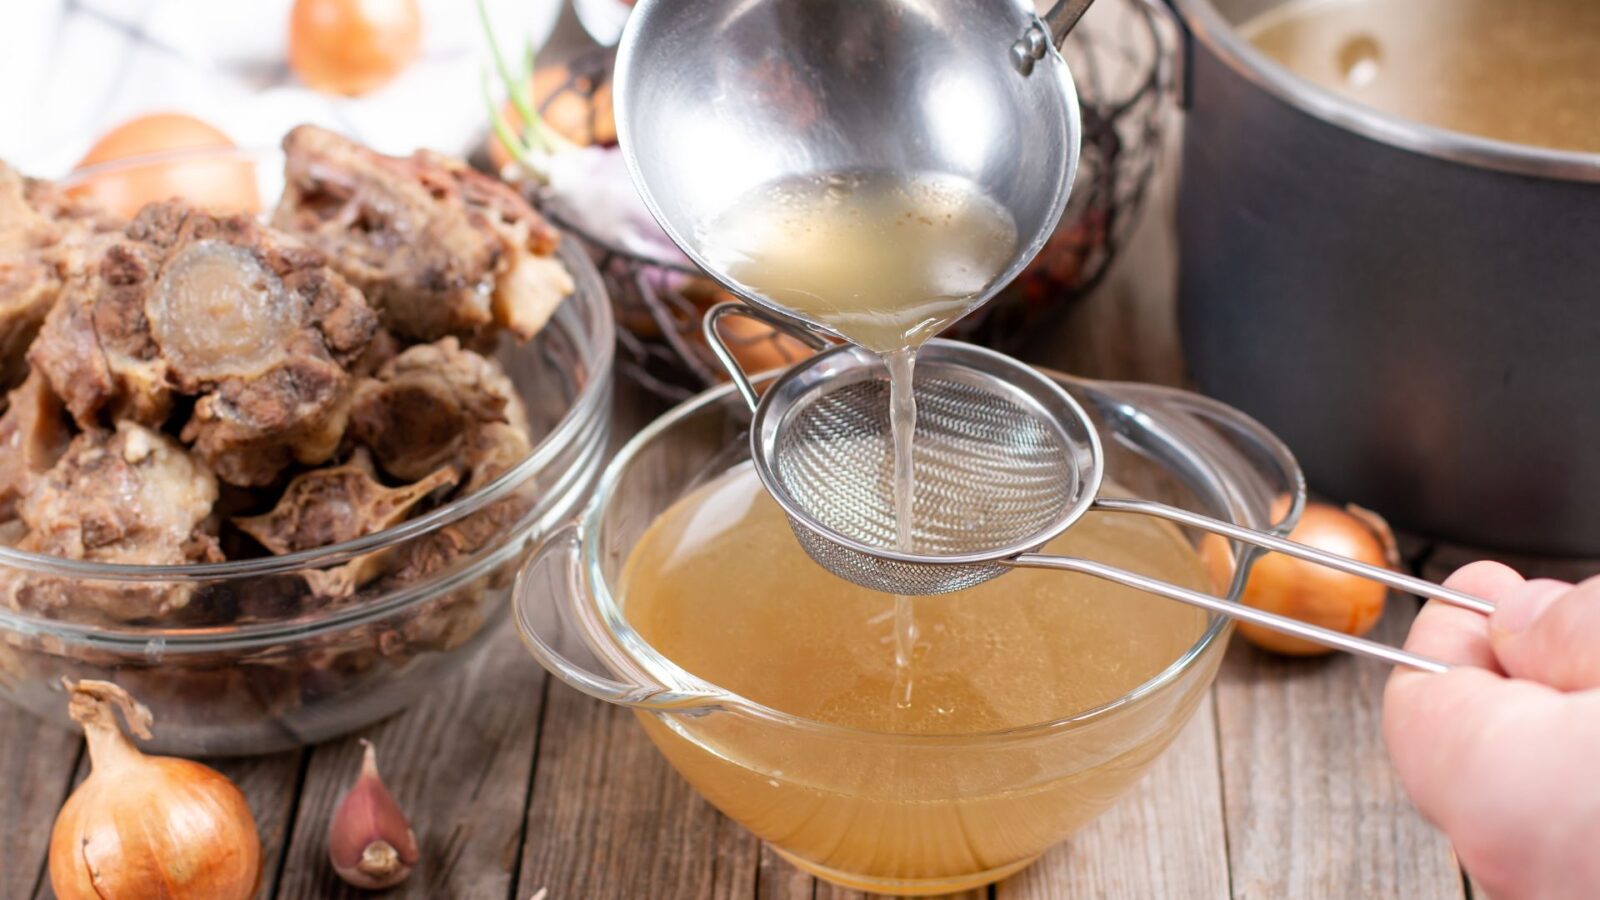
Strain the liquid and store it in the fridge for 3 to 4 Days. You can also freeze the broth for up to a year.
Crock Pot Bone Broth
If you don’t want to “baby-sit” your broth all day or continue to simmer it for 24 to 72 hours straight, put your slow cooker to work. This works particularly well for a chicken carcass or any small batch of bones.
Put the bones in the crockpot and cover them with plenty of water. Again, adding a splash of apple cider vinegar will help get the most nutrients and minerals from the bones. Cover and cook on low as long as desired.
Strain out the liquid and if you’d like, start another batch with the same bones. You can get up to 3 batches of bone broth out of each batch of bones.
Perpetual Bone Broth
Last but not least, there’s something called perpetual bone broth. The basic idea is that you have a pot of broth simmering at all times. You dip out what you need to drink or cook with, add more water and bones as needed, and keep it going. You can do this on the back of the stove, turning it off at night, but it may be safer and more efficient to make your perpetual broth in the slow cooker.
This is a good idea if you’re sick and are trying to get a constant supply of hot broth to sip on without a lot of work. Put your chicken bones in the slow cooker along with any herbs or seasonings you like, cover with water and cook for 12 hours. Then start dipping out a cup or two of broth at a time, refilling it with water each time. Use the broth for 3 to 6 days, then remove everything from the slow cooker, clean it and start over.
Related: Easy Homemade Chicken Broth
How to Make Bone Broth Taste Better
 Pin
PinOnce you’ve made a few batches of plain bone broth, it’s time to spice things up and add a little variety. The beauty of making your own homemade broth is that you can add just about anything to it. It’s your broth, and you can fix it how you want it.
There are two ways to do this. You can add some veggies, aromatics, and spices during the cooking process, or you can spice things up once the broth is finished. Adding some spices and seasonings after the fact is a great way to change up the flavor of individual bowls of broth. It also helps your bone broth flavor after it has sat in the fridge for a few days. Bone broth will always be its tastiest right after it’s cooked. But it’s easy to doctor things up with a little garlic salt, some pepper and anything else you have in your spice cabinet.
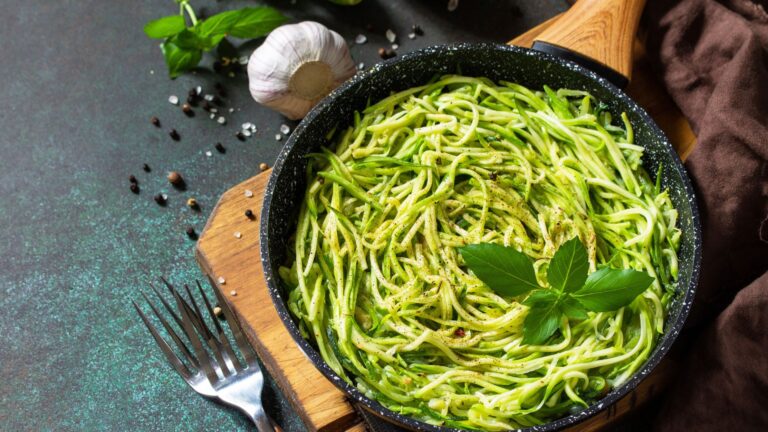
Keeping things basic when you make a big batch of broth makes it easy to use the broth later. You can make your cauli-rice or keto pasta in it, add it to your favorite stew or drop a little in your green smoothie for the collagen. Here are a couple of herbs, spices, and the likes you may want to add to your broth:
-
- Salt and Pepper
-
- Garlic Salt
-
- Onion Powder
-
- Green Onion
-
- Fresh or Dried Herbs :
-
- Parsley
-
- Basil
-
- Oregano
-
- Rosemary
-
- Sage
-
- Chive
-
- Thyme
-
- Fresh or Dried Herbs :
-
- Spices:
-
- Cayenne
-
- Turmeric
-
- Curry
-
- Cumin
-
- Spices:
-
- Soy Sauce
-
- Hot Sauce
Of course, this isn’t an all-inclusive list. If it sounds tasty, try adding it to your broth for added flavor.
The other option is to add herbs, spices, veggies, and aromatics during the cooking process. When you start your bone broth, look through the fridge for veggie scraps. Onions, carrots, celery, garlic, and leek are all great options. Add them to the broth as it starts to boil. Even peels and scraps will work since you’ll be straining the broth. Just make sure they are clean before you toss them in the pot.
Dried herbs and spices can also be added in the beginning. When it comes to fresh herbs, though, I wait until the end of the cooking process. Most fresh herbs are fairly delicate, and you’ll lose all the good flavor and any nutritional benefits if you boil them for 12 hours or longer. Just hold off and throw them in for the last few minutes before cooling and straining your broth.